Configure an OAuth app for Gmail
At present, Gmail integration operates through less-secure apps. However, as of June 15, 2024, Google Workspace will cease to support these less-secure apps. This will affect the Gmail integration in Chatwoot. To ensure that your Gmail integration continues to work, you will need to set up an OAuth app in Google Workspace.
Note: Existing setups will continue to work until September 30, 2024. However, we recommend setting up an OAuth app as soon as possible to avoid any disruptions.
This guide will walk you through the process of setting up an OAuth app in Google Workspace.
Register the app
To enable Google OAuth in Chatwoot, you need to provide the client ID, client secret, and callback URL. You can find the instructions to generate these details here. Once you have followed these steps, you will be able to get a Client ID and Secret.
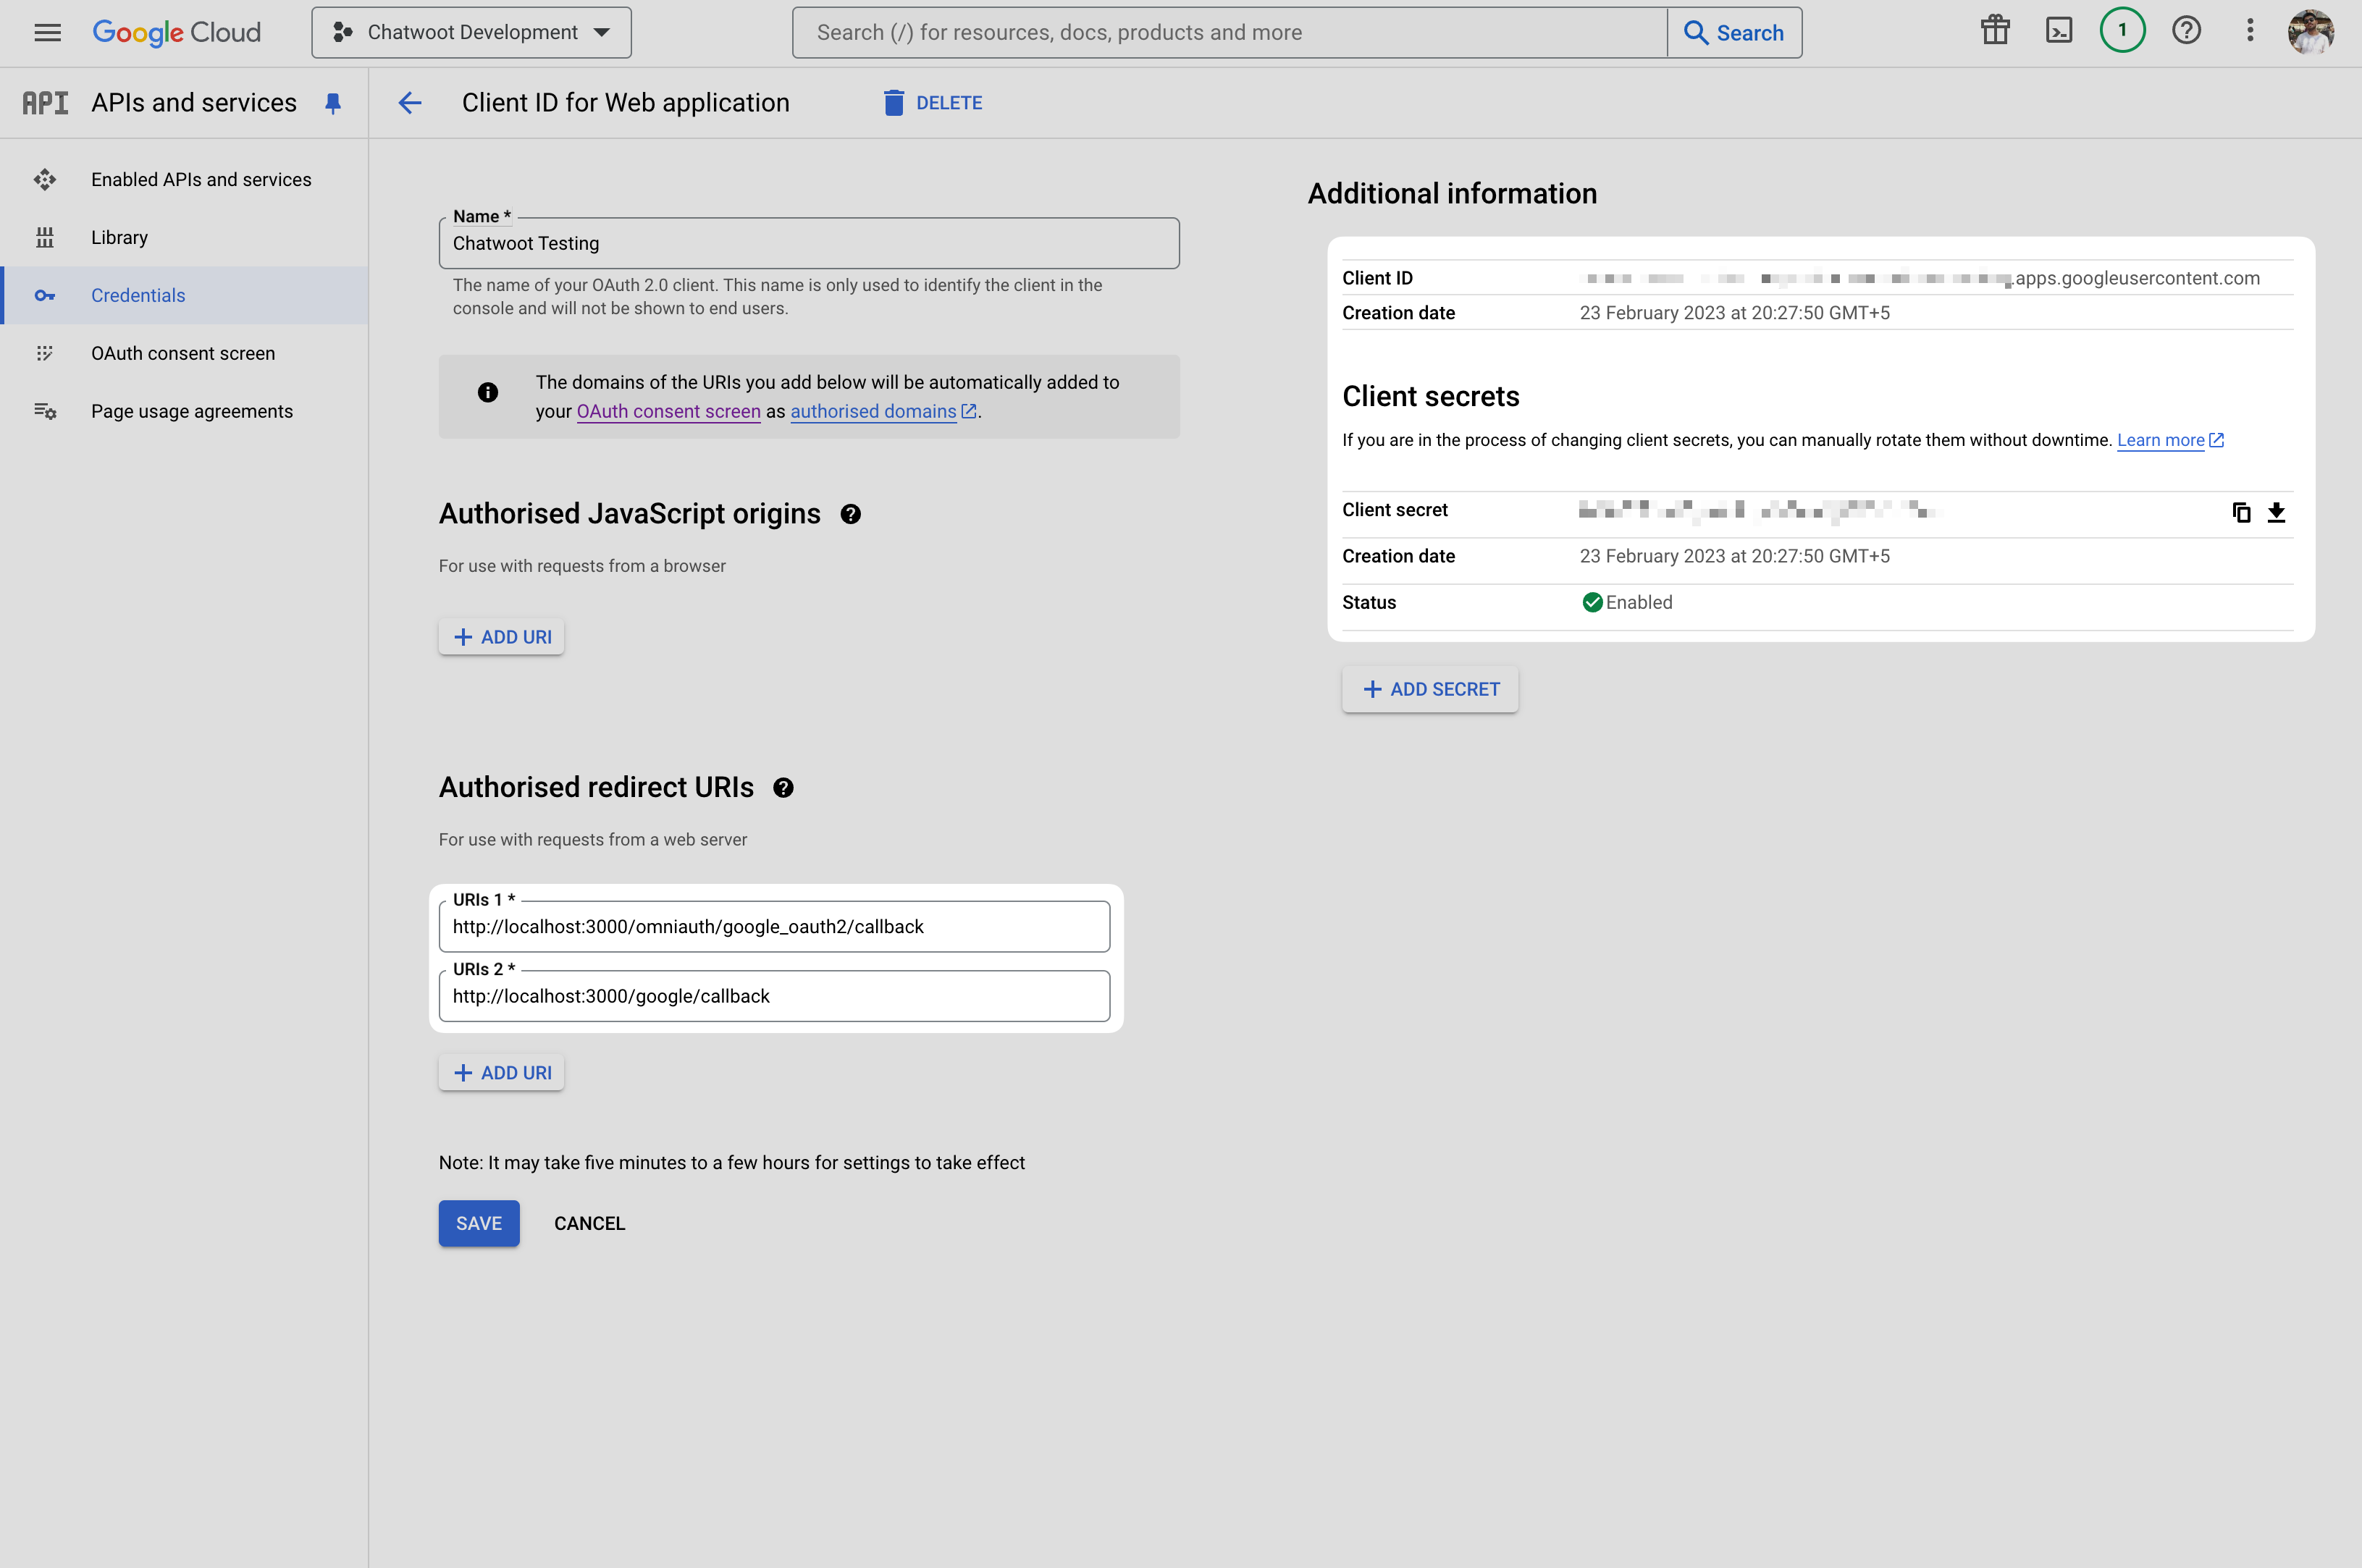
Use the callback URL https://<your-instance-url>/google/callback when registering the app. This URL is used to redirect the user back to the Chatwoot instance after authentication.
Set the GOOGLE_OAUTH_CLIENT_ID and GOOGLE_OAUTH_CLIENT_SECRET environment variables in your Chatwoot installation using the values you copied from the Google API Console.
GOOGLE_OAUTH_CLIENT_ID=369777777777-xxxxxxxxxxxxxxxxxxxxxxxxxxxxxxxx.apps.googleusercontent.com
GOOGLE_OAUTH_CLIENT_SECRET=ABCDEF-GHijklmnoPqrstuvwX-yz1234567
Note: If you have already setup Google OAuth login flow You can use the same app, by simply adding the new callback URL. Do not remove the previous callback URL.
After setting these environment variables, restart your Chatwoot server to apply the changes. Now, users will be able to sign in using their Google accounts.
You will notice that the app you are using is in testing mode; we will cover that later in the guide. For now, you can ignore it.
Configure the application
To fetch the emails from the client inbox, you need to configure the correct scopes. The following scopes are required:
https://mail.google.com/: To read, send, delete, and manage your email.email: To view the user’s email address.profile: To view the name and picture etc.
You can configure the scopes in the Google API Console by following the steps below:
- Go to the Google API Console.
- Select the project you created earlier.
- Click on the "OAuth consent screen" tab and click on the "Edit App" button.
- Add the required scopes in the "Scopes for Google APIs" section.
- Click on the "Save" button.
Here's a demo showing how to add the https://mail.google.com/ scope:
Publishing the app
If you're using Chatwoot within an organization with fewer than 100 users, you can continue to use the app in testing mode. However, if you're using Chatwoot in an organization with more than 100 users or using the app to serve multiple clients, you will need to publish the app to make it available to all users.
To publish the app, you need to go through the verification process since we use a restricted scope. You can find the instructions to verify the app here.
It's important to note that the verification process can take a few days to complete. Once the app is verified, you can publish it and make it available to all users.